
 Français
 Español
 Deutsch
 Italiano




Pollinating Sarracenia step by step


Pollinating Sarracenia
From flower to seed
All our seeds and home-made hybrids come from hand pollinations. Here is the nursery's method, step by step.
This article comes from “Les sarracenia en images”, the book Cédric wrote from his experience at the nursery, and from our growing guide. All photos are ours.
Two ways to cross
Between two clones of the same species. For example, two different S. flava. This genetic mixing increases the chances of viable seeds, and the seedlings remain pure species.
Between two different species. You get a simple hybrid. Crossing a species with a hybrid, or two hybrids, gives a complex hybrid. This is how our own creations are born: see our Sarracenia cultivars.
Tools
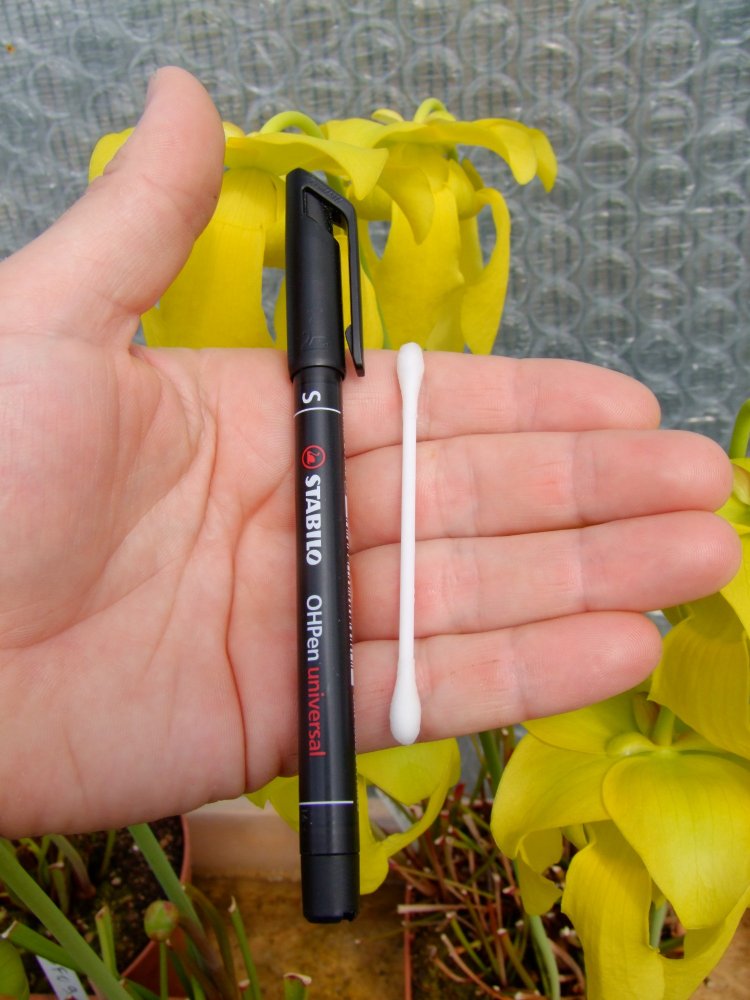
You need almost nothing: a fine permanent marker and cotton buds. Use one cotton bud per cross so as not to mix pollens.
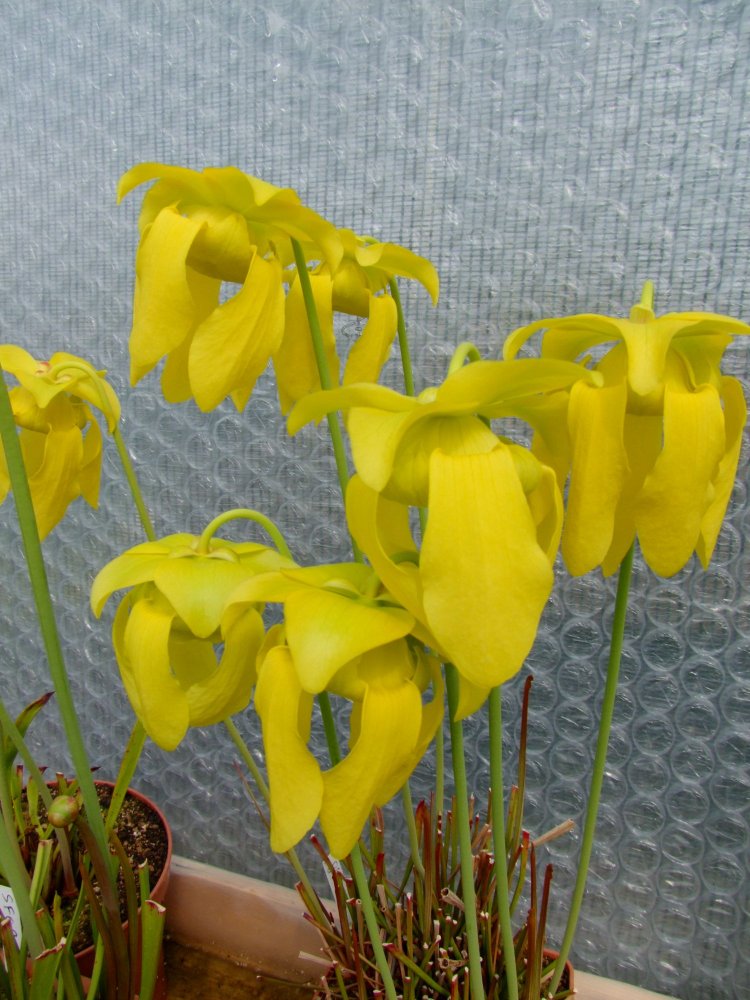
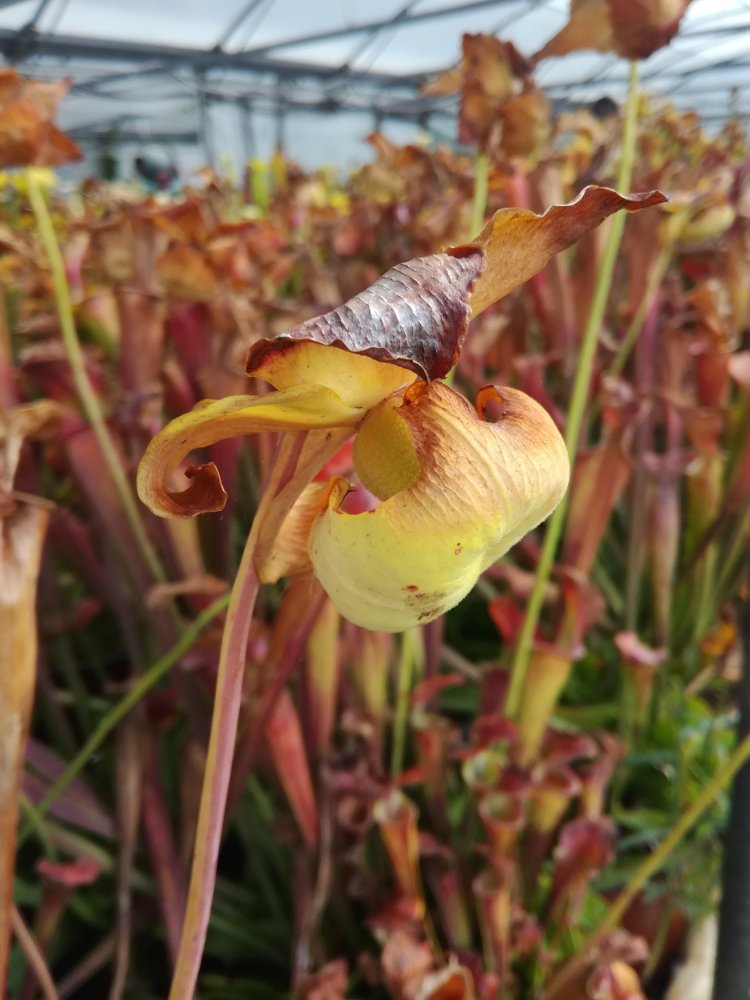
The flower must be fully open. It is receptive only for a short time: in S. leucophylla var. alba, for example, rarely more than two days. For the stages of blooming, read Sarracenia flowers.
Collecting the pollen
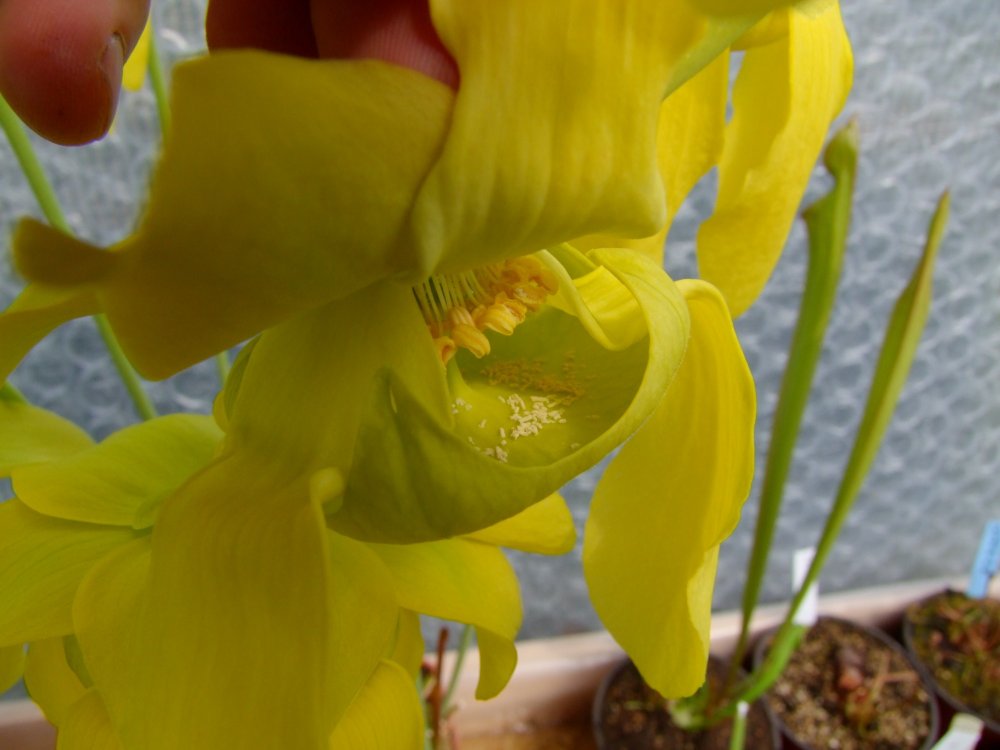
Pollen is taken straight from the stamens, or from the bottom of the flower's “umbrella”, where it falls and collects. Simply pick it up with the cotton bud.
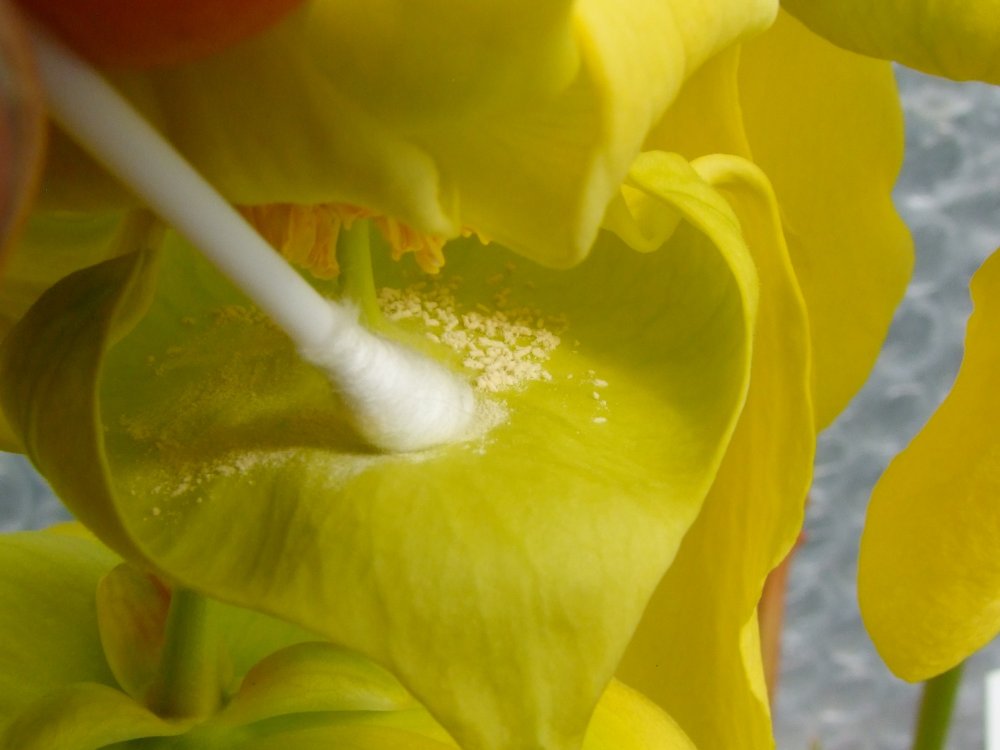
Placing the pollen
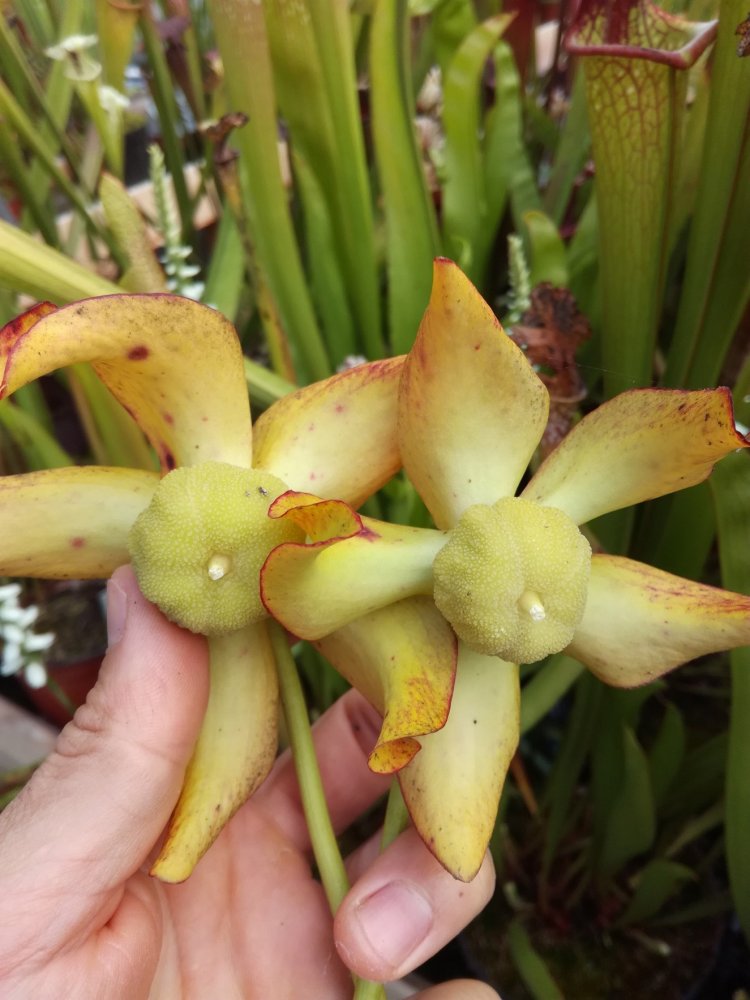
On the flower that will receive the pollen, place it on the five stigmas: the small points at the tip of each branch of the umbrella, under the flower. Gently rub the cotton bud on each one.
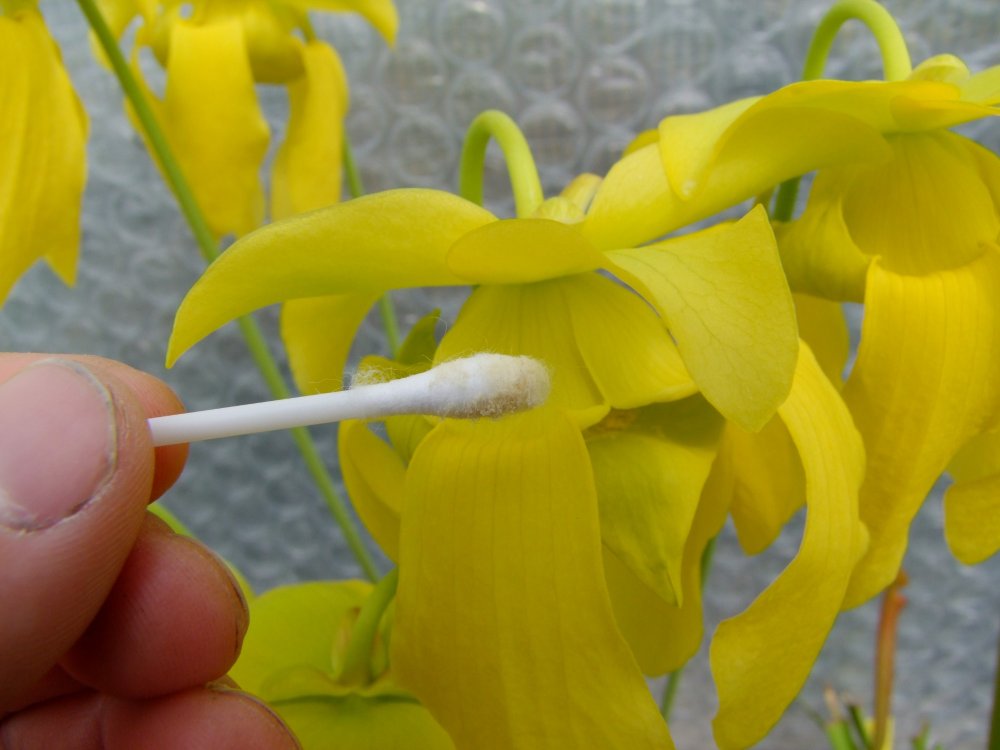
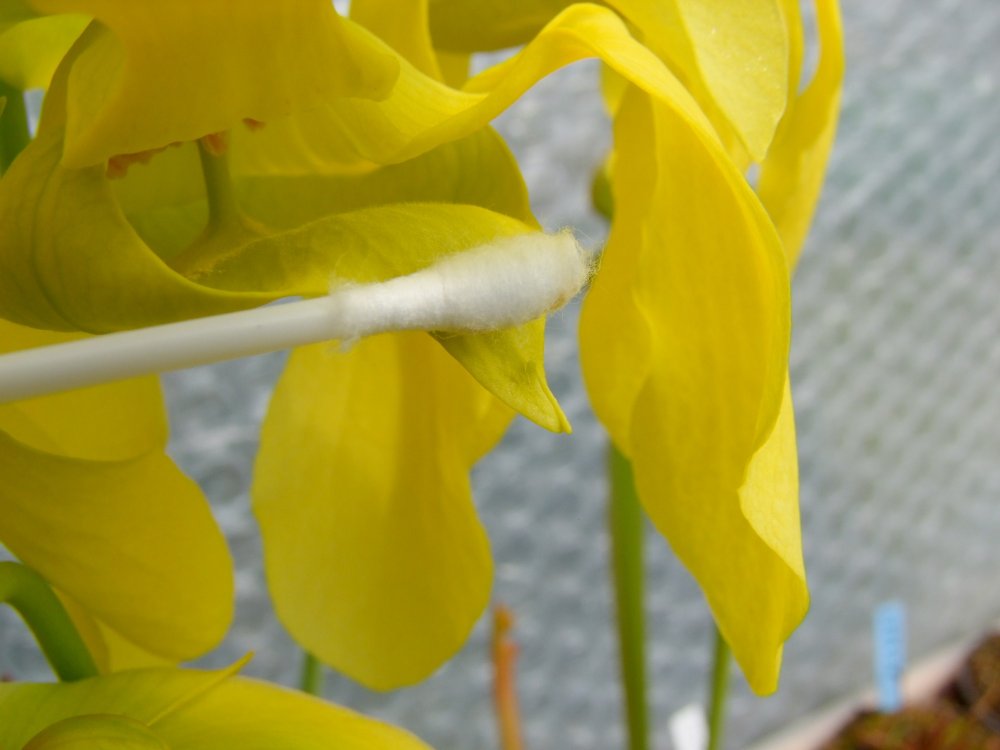
Labelling the cross
Tie a label to the flower stalk, or write directly on it with the permanent marker. The flower that receives the pollen, the mother, is always written first. Example: pollen of S. flava var. flava placed on S. flava var. ornata is written S. flava var. ornata x S. flava var. flava.
At the nursery, each plant has a code. In the photo, “SF03” is the code of the plant the pollen came from.
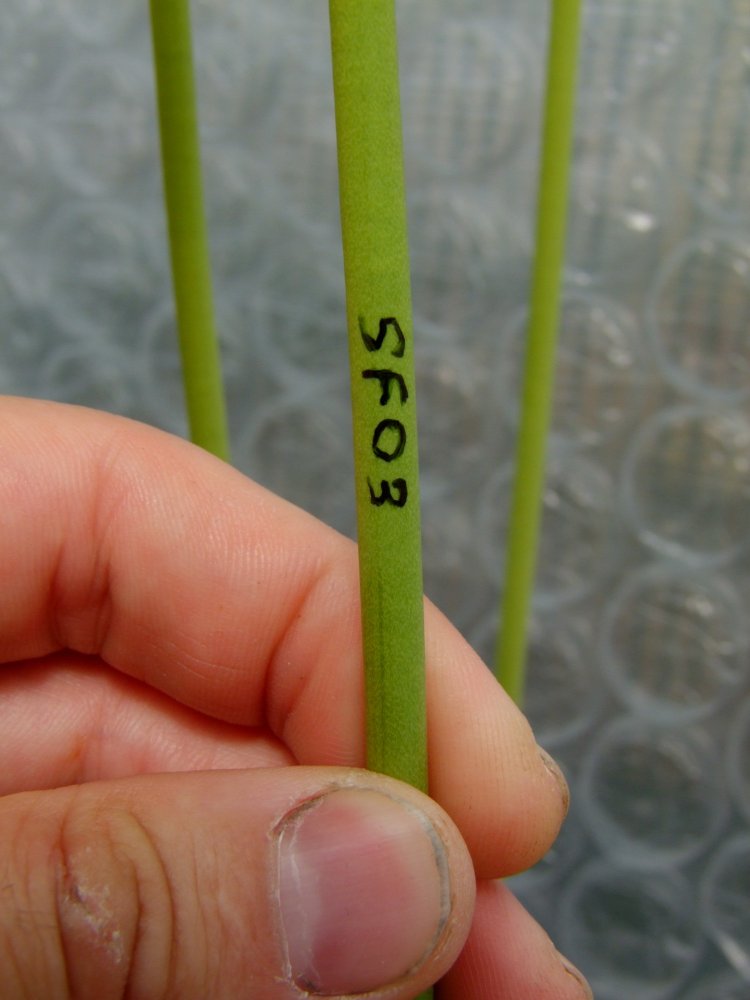
From flower to seed
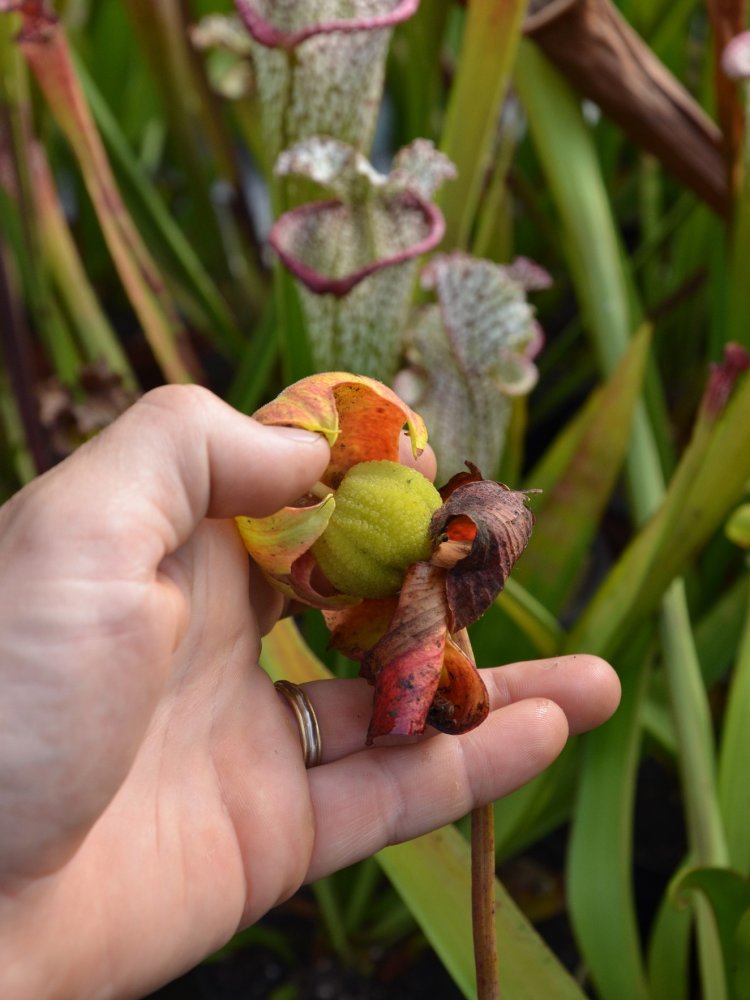
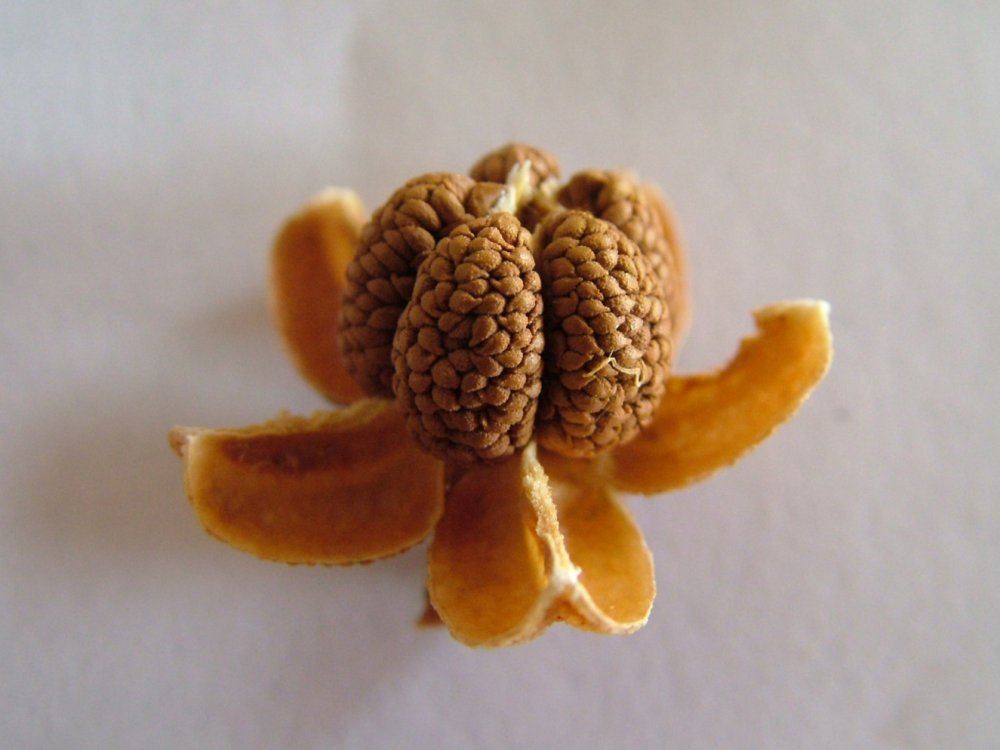
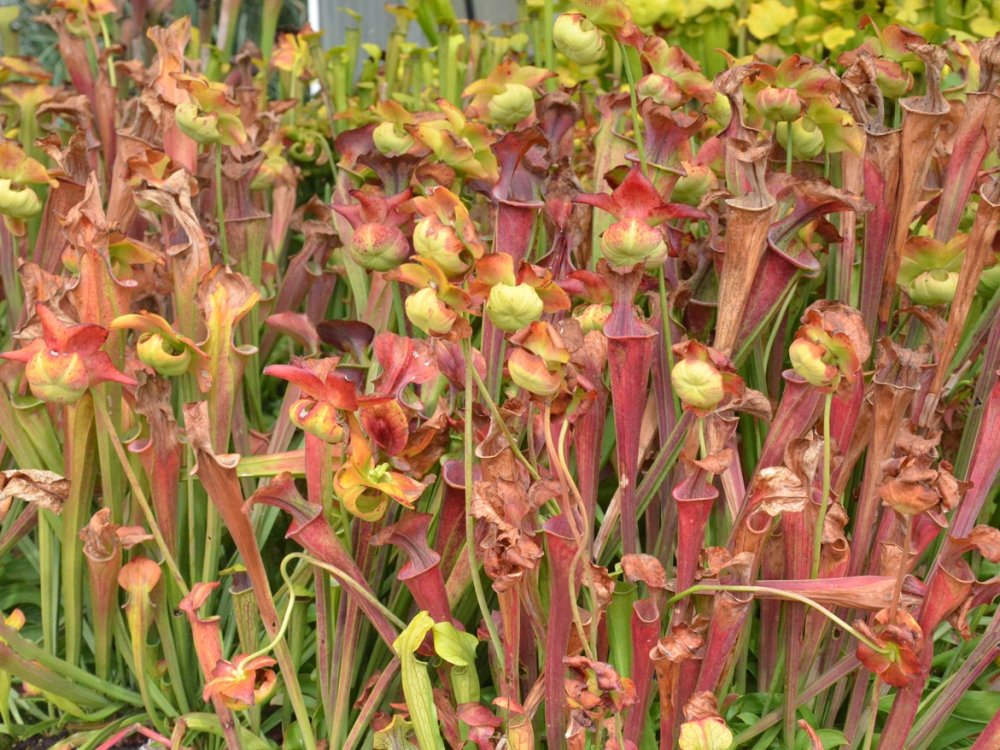
A fertilised flower straightens up and loses its petals. After a month, the capsule can already be seen swelling in the centre. It takes several months to ripen: we harvest the seeds around early September, when the capsule is dry and starts to open.
Keep the seeds cool and dry until sowing in March. All the sowing steps are in Sowing Sarracenia. No flowers at hand? Our Sarracenia seeds come from these pollinations.
A question about your Sarracenia?
✉ Contact us© 2026 Cédric Carnivores - Carnivorous plant nursery since 2012
Share this article:


